ASC Setup — Surgical Scheduling Workflow
Note
The following describes an opt-in feature for practices that have ambulatory surgery centers (ASCs). To enable this feature for your organization, contact your CSM. For more information, see ASC Setup: Enable ASC Features.
This feature applies to practices that utilize the ambulatory surgery center (ASC) workflow.
For more information on the ASC — Scheduling Workflow, see ASC — Surgical Scheduling Workflow.
Setup instructions
You must set up rooms in an admin workflow page (Patient Locations) and set up room schedule templates in Schedule Builder before you can use this functionality.
To enable the Room based scheduling: set up schedule by Patient Location and create provider block time setting for your organization, contact the CSC or your onboarding project team. On the Main Menu, click Support > Success Community > Contact Client Support Center.
To prevent patients from receiving any automated updates or notifications regarding their surgical appointments, appointments must be hidden in the Patient Portal. To hide appointments in the Patient Portal, contact the CSC or your Onboarding project team: On the Main Menu, click Support > Success Community > Contact Client Support Center.
Note
If a department contains clinic and ASC appointments, this setting will hide ALL appointments for that department.
Set up rooms
Important
If a room with booked procedures is deleted from the Patient Location admin page — the procedures still exist in the background — they do not get canceled or rescheduled. To avoid this, you must cancel the procedures from the room or rebook the procedures to a different room before deleting the room.
Room set up is required to use ASC scheduling.
To set up rooms:
-
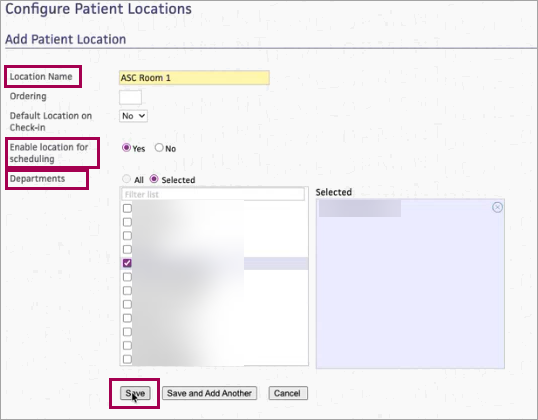
Display the Patient Locations page: On the Main Menu, click Settings > Clinicals. In the left menu, under Practice Links — Other, click Patient Locations.
-
Location Name — Enter the name of the location.
-
Enable location for Scheduling — Select Yes.
-
Departments — Select the departments where the room is located.
-
Click Save.
Set up Room Schedules
Room schedule setup is required to use ASC scheduling.
Create New Room Schedule
-
Display Schedule Builder Dashboard: On the Main Menu, click Settings > Under ADMIN, click Schedule > In the left menu, under PRACTICE LINKS, Scheduling, click Schedule Builder.
-
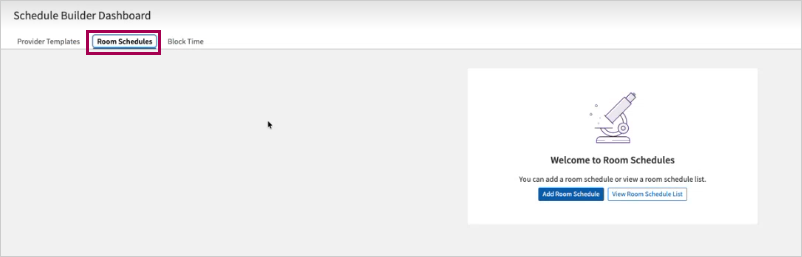
Click the Room Schedules tab.
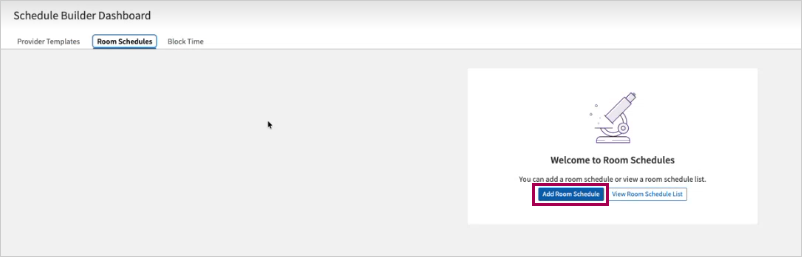
- Click Add Room Schedule.
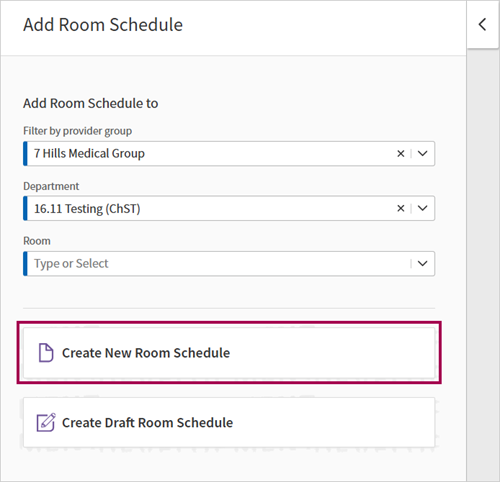
- Click Create New Room Schedule.
-
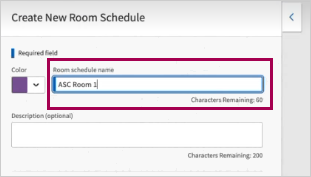
Room Schedule Name — Enter a name for the room schedule.
-
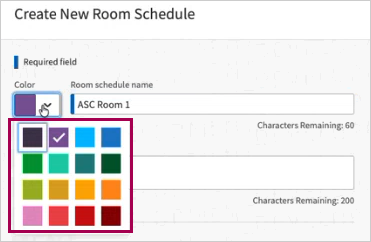
Color — Assign a color to the room schedule.
-
Filter by provider group — Automatically filled based on login information.
-
Department — Automatically filled based on login information.
-
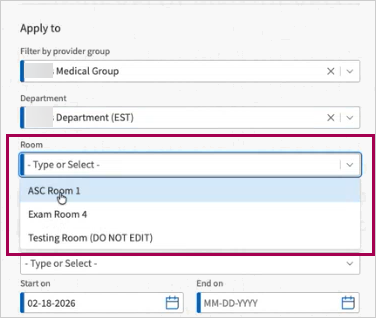
Room — Select the room.
-
-
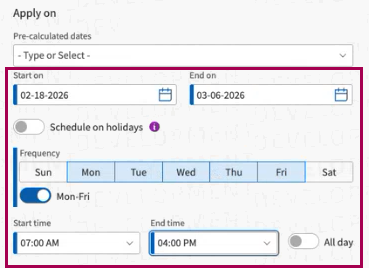
Start on — Select the start on date for the room schedule.
-
End on — Select the end on date for the room schedule.
-
Frequency — Select the days of the week that the room schedule is available.
-
Start time — Select the start time for the room schedule.
-
End time — Select the end time for the room schedule.
-
Click Save and Apply.
Edit Room Schedule
-
Display Schedule Builder Dashboard: On the Main Menu, click Settings > Under ADMIN, click Schedule > In the left menu, under PRACTICE LINKS, Scheduling, click Schedule Builder.
-
Click the Room Schedules tab.
-
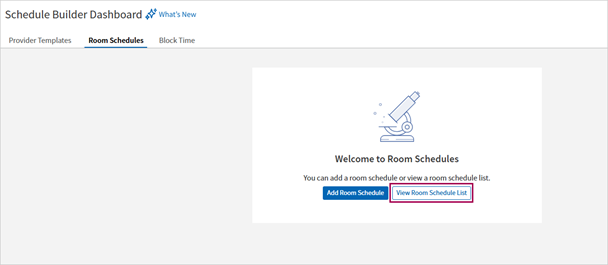
Click View Room Schedule List.
-
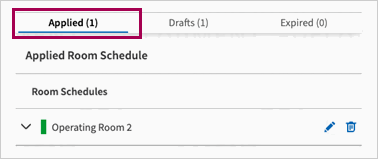
Click Applied.
-
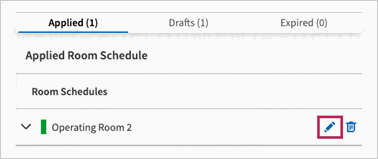
Select the pencil icon on a room to edit. The Edit Room Schedule page appears.
-
Edit the Room Schedule as needed.
Create Draft Room Schedule
-
Display Schedule Builder Dashboard: On the Main Menu, click Settings > Under ADMIN, click Schedule > In the left menu, under PRACTICE LINKS, Scheduling, click Schedule Builder.
-
Click the Room Schedules tab.
-
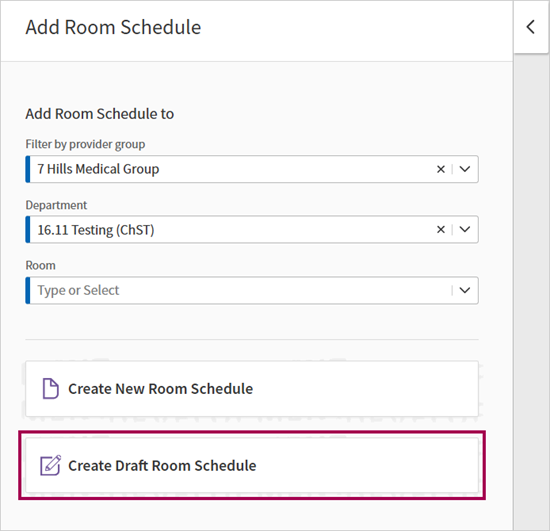
Click Add Room Schedule. The Add Room Schedule page appears.
-
Click Create Draft Room Schedule.
-
Room Schedule Name — Enter a name for the room schedule.
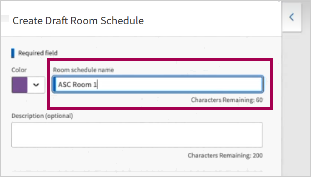
-
Color — Assign a color to the room schedule.
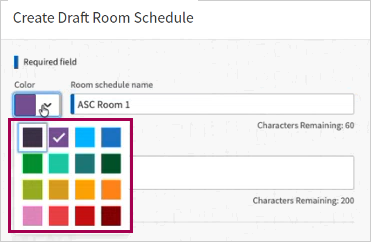
-
Filter by provider group — Automatically filled based on login information.
-
Department — Automatically filled based on login information.
-
Room — Select the room.
-
-
Start on — Select the start on date for the room schedule.
-
End on — Select the end on date for the room schedule.
-
Frequency — Select the days of the week that the room schedule is available.
-
Start time — Select the start time for the room schedule.
-
End time — Select the end time for the room schedule.
-
Click Save as Draft.
Note
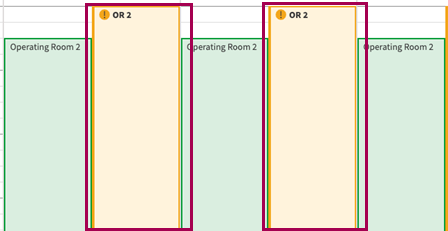
If there is an existing Room Schedule with the same date range a message appears informing you that the draft overlaps with an existing Room Schedule. You will also see the conflicting room schedule on the preview calendar. You can save the draft Room Schedule but you cannot make a new Room Schedule from that draft.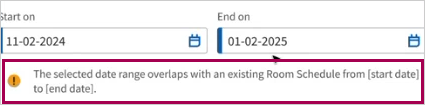
Edit Draft Room Schedules
-
Display Schedule Builder Dashboard: On the Main Menu, click Settings > Under ADMIN, click Schedule > In the left menu, under PRACTICE LINKS, Scheduling, click Schedule Builder.
-
Click the Room Schedules tab.
-
Click View Room Schedule List.
-
Click Drafts.
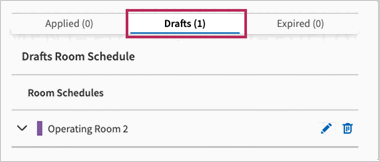
-
Select the pencil icon on a room draft to edit. The Edit Draft Room Schedule page appears.
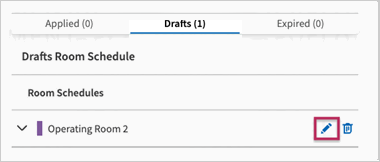
-
Edit the draft Room Schedule as needed.
Delete Draft Room Schedules
-
Display Schedule Builder Dashboard: On the Main Menu, click Settings > Under ADMIN, click Schedule > In the left menu, under PRACTICE LINKS, Scheduling, click Schedule Builder.
-
Click the Room Schedules tab.
-
Click View Room Schedule List.
-
You can either:
-
Select the trash icon on a room draft to delete the draft.
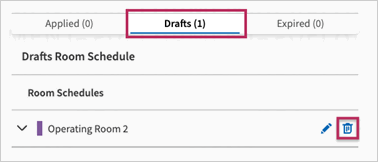
-
Select a draft to edit. The Edit Draft Room Schedule page appears.
-
Other Actions — Click Delete Draft of Room Schedule.
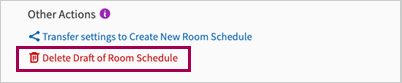
-
-
Transfer Draft settings to Create New Room Schedule
-
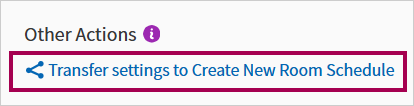
Click Transfer settings to Create New Room Schedule to discard the draft Room Schedule and turn it into a New Room Schedule.
-
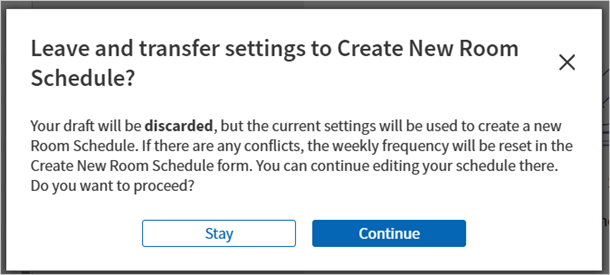
When you click Transfer settings to Create New Room Schedule, a window appears asking if you'd like to continue.
-
You can either click:
-
Stay to keep your current draft.
-
Continue to discard the draft and use the current settings to create a new Room Schedule.
-
-
When you click Continue, the page turns into the Create New Room Schedule page and the Transfer settings to Create New Room Schedule link turns into the Transfer settings to Create Draft Room Schedule link.
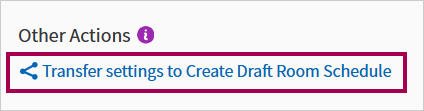
In the Edit Draft Room Schedules page, you can also save your draft as a new Room Schedule.
-
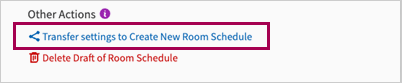
Click Transfer settings to Create New Room Schedule to save the edits done to the draft Room Schedule and turn it into a New Room Schedule.
-
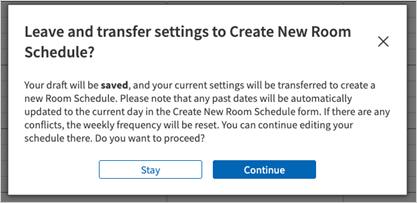
When you click Transfer settings to Create New Room Schedule, a window appears asking if you'd like to continue.
-
You can either click:
-
Stay to keep your current draft.
-
Continue to save the draft and use the current settings to create a new Room Schedule.
-
When you click Continue, the page turns into the Create New Room Schedule page.
Set up Block Time
This is an optional workflow.
Practices use block times to protect provider capacity, organize workflows, and reduce friction across clinical and operational processes.
To set up block time:
-
Display Schedule Builder Dashboard: On the main menu, click Settings > Under ADMIN, click Schedule > In the left menu, under PRACTICE LINKS, Scheduling, click Schedule Builder.
-
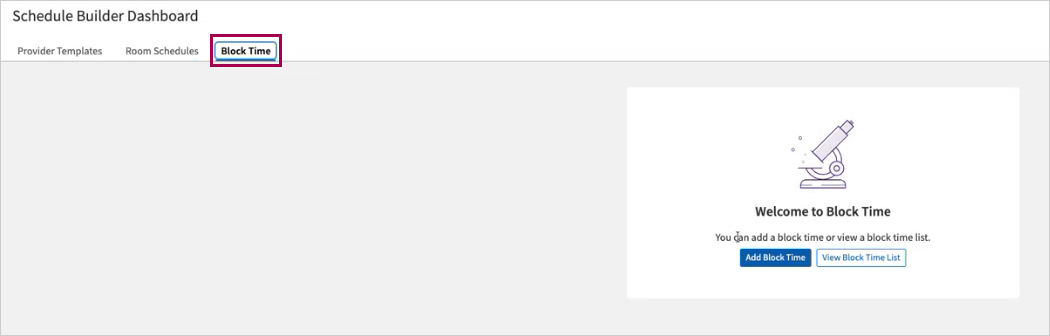
Click the Block Time tab.
-
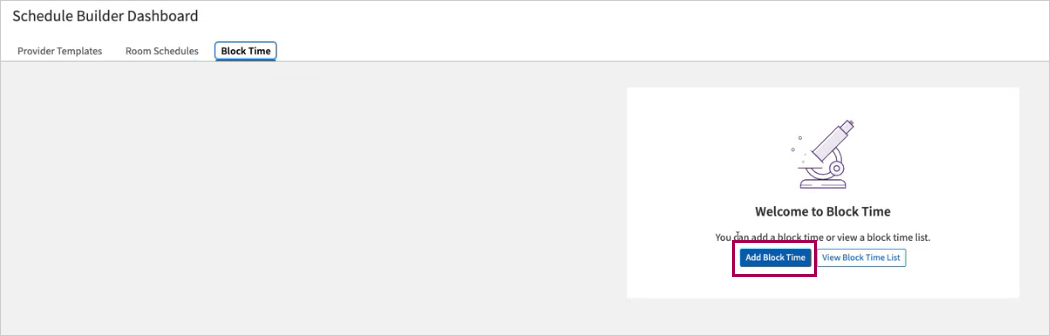
Click Add Block Time.
-
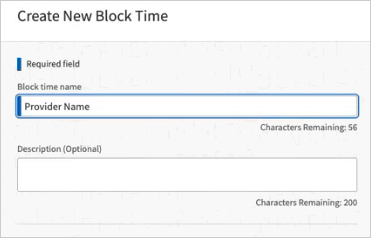
Block time name — Enter a name for the block time.
-
Filter by provider group — Automatically filled based on login information.
-
Department — Automatically filled based on login information.
-
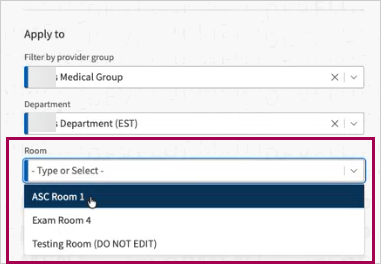
Room — Select the room.
-
-
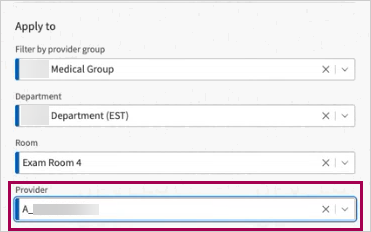
Provider — Select a provider.
-
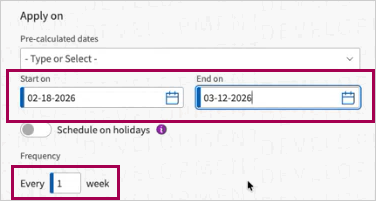
Start on — Select the start on date for the block time.
-
End on — Select the end on date for the block time.
-
Every — Set when the block time is available per week.
-
Weekly Frequency — Select the days of the week that the block time is available.
-
Start time — Select the start time for the Block Time.
-
End time — Select the end time for the Block Time.
-
Click Save and Apply.